

The kneebar is the king of leg submissions: you are attacking one of the largest joints in the body and demonstrating mastery over your opponent.
Unlike heelhooks and toeholds, which often have to be applied gently in training to avoid injury, a successful kneebar leaves no doubt or debate as to its effectiveness. The kneebar is a fairly safe submission when applied properly, but is also a potentially devastating lock.
When I watch competitions, be they local Jiu-jitsu competitions or NHB fights at the highest level, I often see some glaring errors in the ways some competitors apply their kneebars under pressure. These errors can make the kneebar so ineffective that it requires too much strength to submit an opponent, often allowing the opponent to escape and even achieve a superior position.
I initially made many of these same errors myself while learning the kneebar. To develop this lock into an effective attack took a lot of research and experimentation: hopefully I can save you a few months (or years) in your kneebar journey.
Kneebar mistakes usually fall into one of three categories: incorrect body position, lack of control over your opponent’s leg, and insufficient knowledge of counters.
Kneebar Mistake 1 – Wrong Body Position

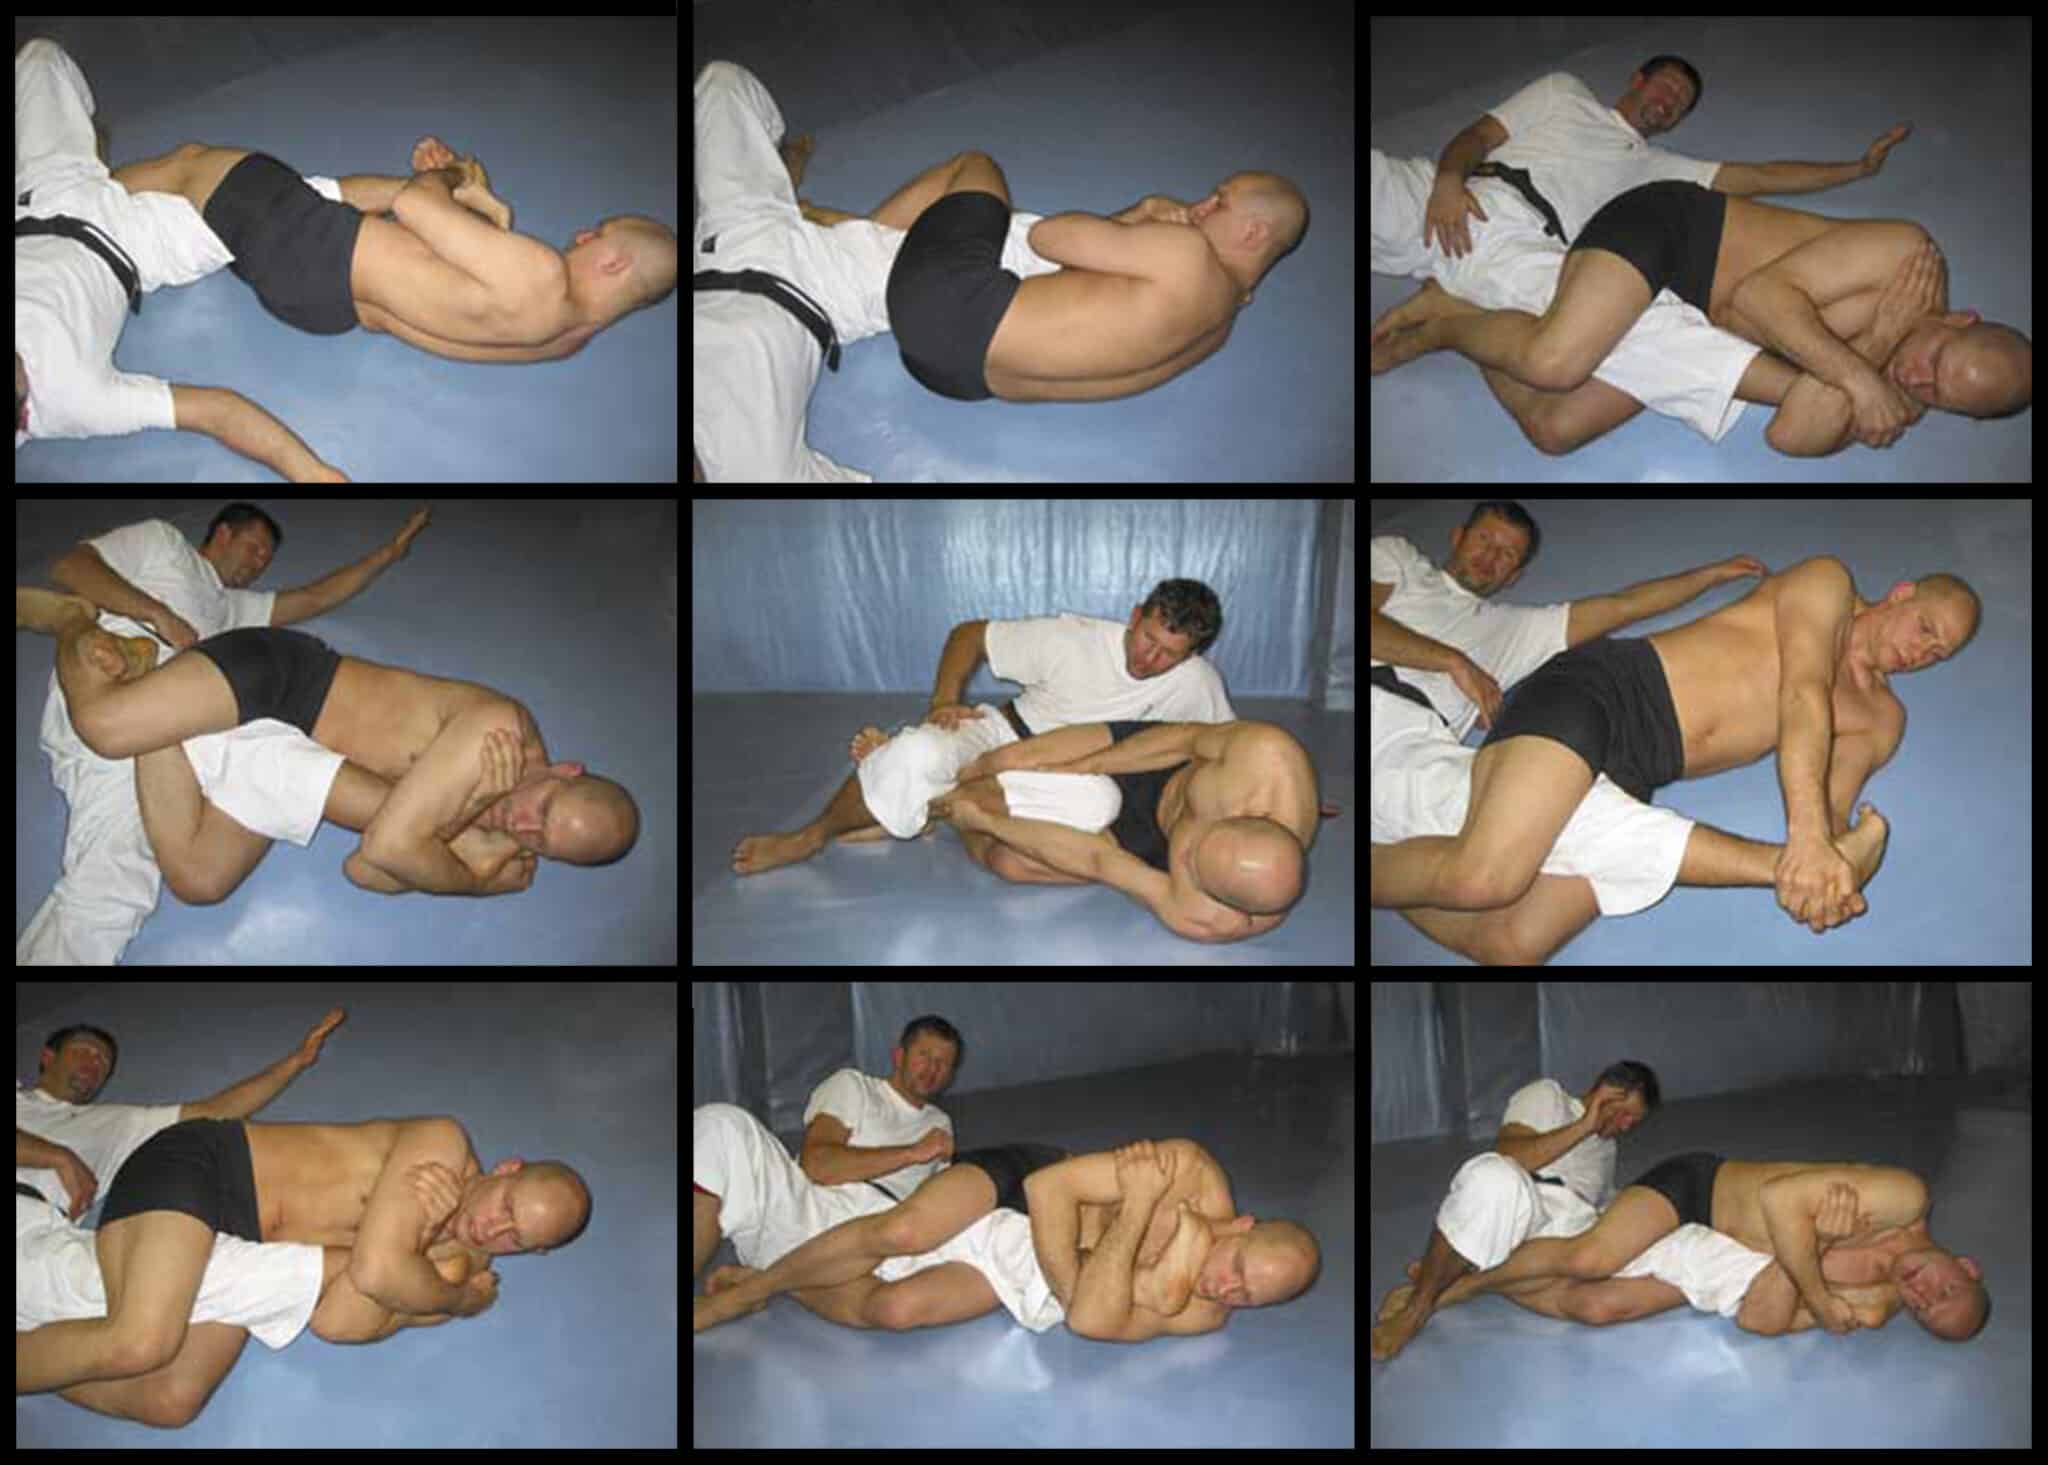
Incorrect body position: note that my body is virtually in a straight line
The most common mistake with the kneebar is probably poor body position. In this attack you need to use the power of your whole body against the knee joint. If you use your body inefficiently, then your ability to generate power is limited, and the submission takes longer to apply, or may not even work at all.
When applying the kneebar your body should NOT form a straight line.
In a stretched-out position you have limited ability to arch backwards, and you cannot use the power of your hips properly. To apply the kneebar from this position is like trying to bridge a mounted opponent off of you with the back of your legs flat on the floor: very, very difficult!

Correct body position: observe that both my knees and hips have a 90 degree bend in them, which is much more powerful.
To be in the correct body position for the kneebar, your body should be positioned with a 90 degree bend in the knees and a 90 degree bend in the hips. This is your ‘power position’: from here you have much more ability to arch backwards while applying the kneebar, as well as being able to use the power of your hips.
This power position is basically the same position you would need to be in if you wanted to bridge off a mounted opponent. In this position you will be able to bring the full force of your body to bear against his knee joint.
Try a little experiment: put your training partner in a kneebar and keep your body absolutely straight. Now see how far you can bend backwards, as if you were applying the kneebar. Then try this again, but start in the power position: you might be amazed at how much further back you can arch, and how much further you could bend his leg if you had to.
Kneebar Mistake 2 – Insufficient Foot and Leg Control
There are two classic ways to control his leg with your own legs.
The first is crossing your ankles and squeezing his thigh hard between your legs, remembering to keep both your hips and your knees at 90 degree angles.

Basic leg position #1: ankles crossed and placed on your opponent’s butt
Another option is to triangle your legs, with your foot going behind your own knee. Typically you want to have your legs triangled on the outside of your opponent’s legs.

Basic leg position # 2: legs triangled on the outside of your opponent’s leg
Your arms should hold his foot close to your body. If you are holding his leg at arms length from you then you don’t have as much control over his foot. Furthermore you will be using more arm power instead of legs and back power to apply pressure.

Incorrect arm position: holding your opponent’s foot at arm’s length can work, but isn’t very secure nor is it efficient
Generally speaking, you should hug his leg to your chest when applying the kneebar, but placing his leg under your armpit is also a good control position.

Correct arm position: hugging your opponent’s leg to your chest with both arms to secure his foot is much better.
An important, yet often overlooked detail, is the position of your head. You want to make a ‘foot sandwich’ in which you have trap his foot between your own head and the floor. This limits how much his foot can rotate, and really cuts down escape options.

Correct head position: his foot is trapped between my head and the mat, making rotation in either direction difficult
If his foot goes above your head then you lose the sandwich effect and your opponent will have much more ability to rotate his foot and maybe set up his escape.

Incorrect head position: here my head is below my opponent’s foot, and his leg has already started to rotate free
There are, of course, exceptions to these rules but try incorporating them into your kneebar attacks and see how much more efficient they become!
Kneebar Mistake 3 – Insufficient Knowledge of Counters
‘Why should I learn the counters’, you might ask: ‘I want to learn how to apply kneebars, not to get out of them’.
Knowledge of counters, and counters to those counters is critical to mastering any technique. It doesn’t matter if we’re talking about kneebars, armbars, pin escapes, or takedowns – you have to understand what your opponent’s options are and what to do if he tries to counter you.
There are many different counters to the kneebar, including triangling the legs, leg prys, cross-faces, spin outs, etc. I encourage you to learn and experiment with as many different counters as you can. You may not use all the counters yourself, but you never know what someone will try on you.
After you familiarize yourself with the common counters you then need to start practicing the counters to those counters (what I call ‘re-counters’). This way you can overcome your opponent’s defenses and tap him out anyway.
Once you understand the counter and re-counter game you are on your way to mastering the kneebar submission.

For example, do you know how to get past your opponent triangling his legs to defend against your kneebar attempt?
To every counter there is one or more re-counters: sometimes all it takes to prevent an opponent’s counter is a subtle weight shift, and sometimes it takes more drastic measures, including switching to a different submission.

If you understand the counter and recounter game then you can quite easily finish him like this!
The kneebar is a fantastic submission that can become become a central part of your game. Focus on the mechanics, then the entries, counters and recounters, and you’ll be tapping people out with kneebars left, right and center!
Much More Leglocking: The Ultimate 2 for 1 Leglock Package
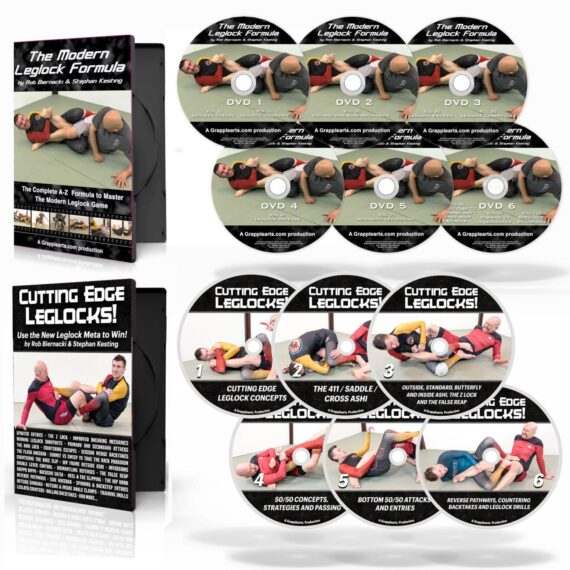
The Ultimate 2 for 1 Leglock Package from Grapplearts
The 2 for 1 leglock package is a collaboration between Stephan Kesting and Rob Biernacki to bring you the very bet in modern leglock technology.
From the kneebar to the heel hook, from the saddle to the false reap, from entries to counter to drills, this instructional package has it all.
It’s also backed up with my unconditional 365 day all-your-money-back guarantee if you don’t like it for any reason.
Check it out!
Click here to find out more about the 2 for 1 Leglock Package.